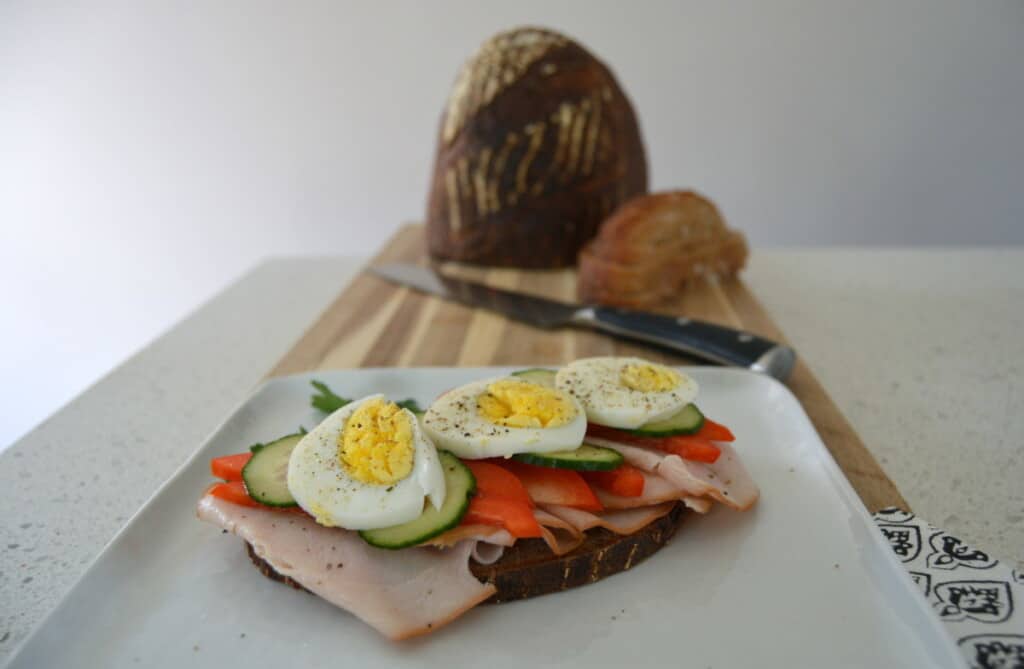
It turns out baking bread is a skill that takes a lot of patience and commitment - just like anything in life that is worth something!
Few things can beat the smell of fresh baked bread streaming out of the many bakeries that can be found on every corner in Germany. Whether it's a pumpkin seed covered pretzel to pick up on a brisk morning on my way to school, a freshly made sandwich with lots of salami and fresh butter during my mid-day break or a flaky, Nutella-filled croissant as an afternoon snack, bakeries are simply part of German cultures.. and they're everywhere!
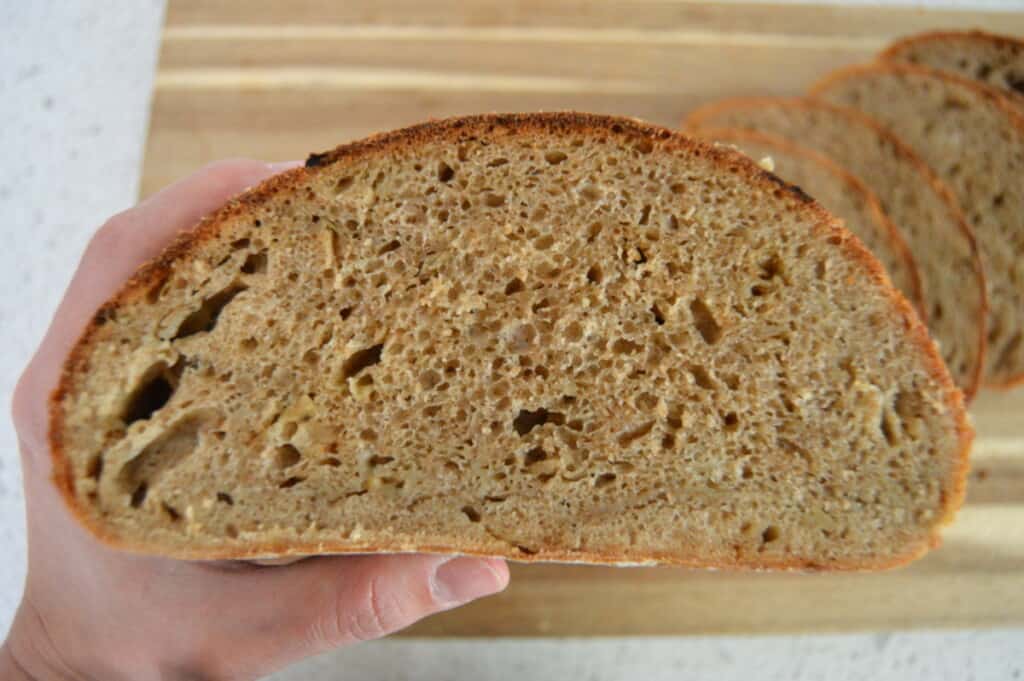
I'm not quite as spoiled in the U.S., but here in Kansas City, there are some notable movements towards fresh, better-tasting and better-for-you bread. You can't find the same variety here yet, which is why I took on the challenge of figuring out how to make a bread that compares to what you are able to find at German bakeries. While my first failed attempt had pumpkin seeds incorporated into the dough, on my second try I added pan-roasted onions - so so yummy!
After a couple of tries, I finally got a result I felt comfortable posting; it turns out baking bread is a skill that takes a lot of patience and commitment - just like anything in life that is worth something! So rather than give up, I decided to feel proud of my first, not-so-pretty loaf attempt (it still tasted fantastic by the way!) and learn from the mistakes I made to make my second loaf succeed - and oh the reward was delicious!
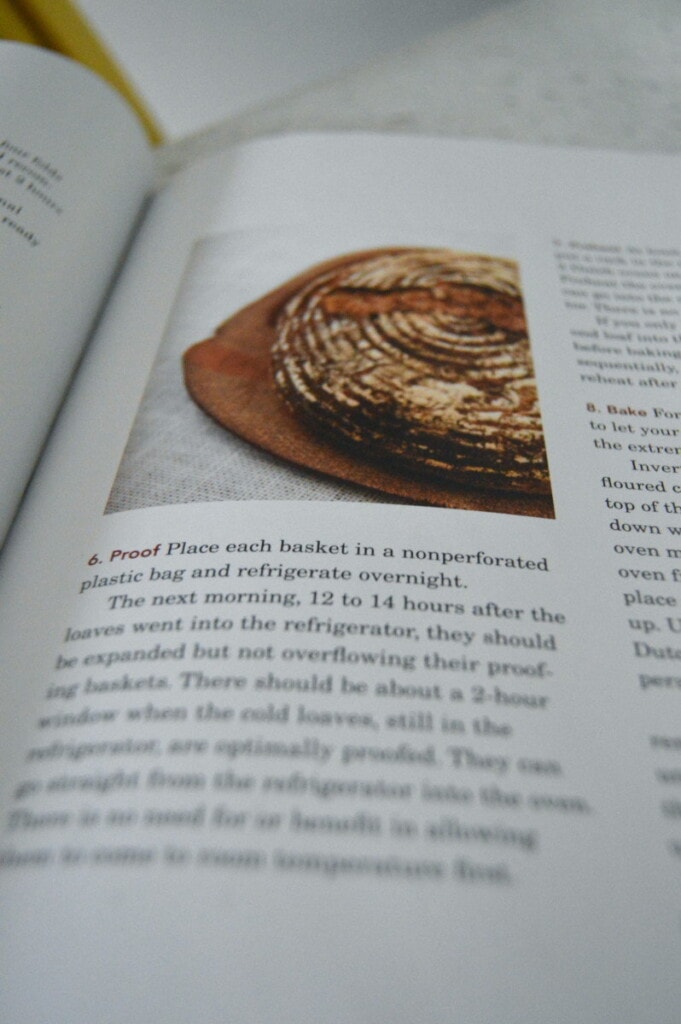
I used Ken Forkish's book called "Flour Water Salt Yeast" and Maurizio's blog named "The Perfect Loaf" to gain inspiration and techniques. I don't have a dutch oven at home like Ken is using for his loafs in his book, so while researching methods to bake bread without a dutch oven, I stumbled upon Maurizio's blog. The bottom line is if the bread sits plainly on a baking stone, you need to create plenty of steam for it to not shape its crust too soon, keeping it from rising as it bakes. So I used a couple of Maurizio's methods to help create enough steam (a baking pan filled with lava rocks, a baking pan stuffed with clean, rolled up dish towels that you then soak in water, and a spray bottle filled with water (pictures to this method here).
Another life-changing happening was suddenly having amazing knives since this last Christmas - I have been very impressed with the Classic Ikon WÜSTHOF knife set we now have (well of course they're German!) and am actually giving one bread knife away (worth about $130) on Instagram this following Wednesday - so make sure not to miss this!
Finally, whether you're new to baking bread or are an experienced baker, don't let minor fallbacks discourage you or shy away from tasks that may seem to daunting at first. If you're able to come up with the right amount of passion to keep improving, it will pay off.
Don't forget to SUBSCRIBE to my blog at the bottom of this post! ????❤️❤️
Ingredients for 1 loaf of roasted onion bread:
(I used Ken Forkish's recipe for "Overnight 40% Whole Wheat Bread and made a few alterations; start this recipe around noon the day before you want to have fresh baked bread in the morning)
- 300g or 2 ⅓ c of white flour
- 120g or 1 c of rye flour
- 80g of ⅔ c of spelt flour
- 11g or 2 teaspoon of fine sea salt
- 2g or ½ teaspoon of instant dried yeast
- 2 yellow onions, sliced and roughly chopped
- 1 tablespoon of butter
Method:
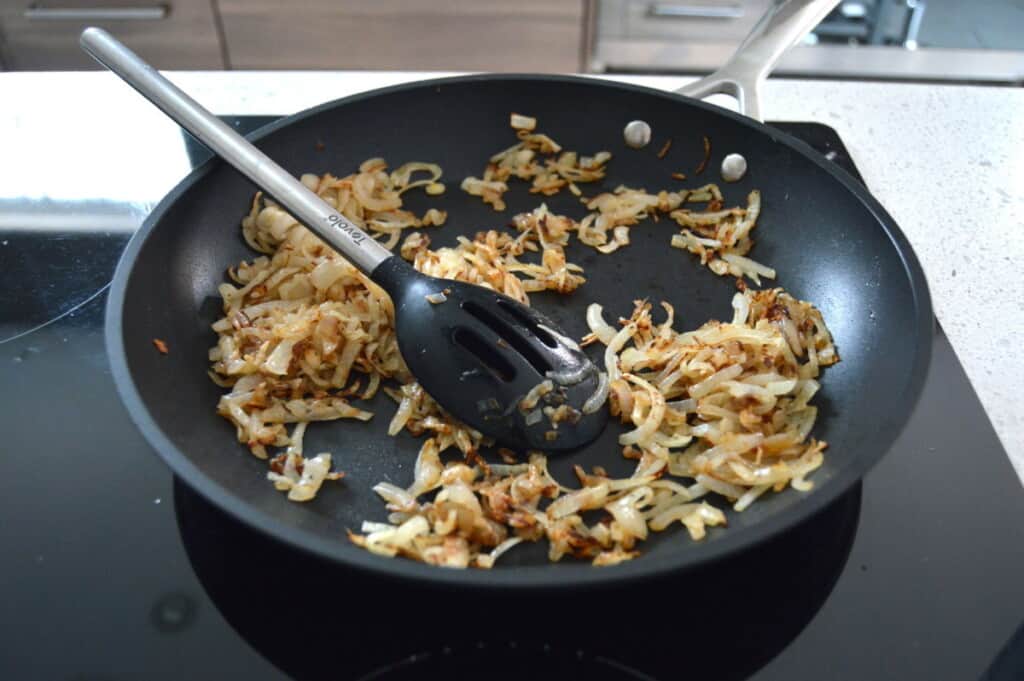
- Sautée the onions in the butter on medium heat for at least 30 minutes until browned and roasted. Set aside, sprinkle with 2 teaspoons of flour and toss to coat, and allow to cool.
- Mix the flours and add 400ml of 90 to 95 degree water (or 13.5 oz), mix with fork just until incorporated. Cover and rest for 20 to 30 mins.
- Sprinkle the salt and yeast evenly over the top of the dough. Mix by hand, wetting working hand as needed to not stick. Reach underneath the dough and grab about one-quarter of it, stretch it and fold it over the top of the other side of the dough. Repeat 3 more times until yeast and salt are fully incorporated.
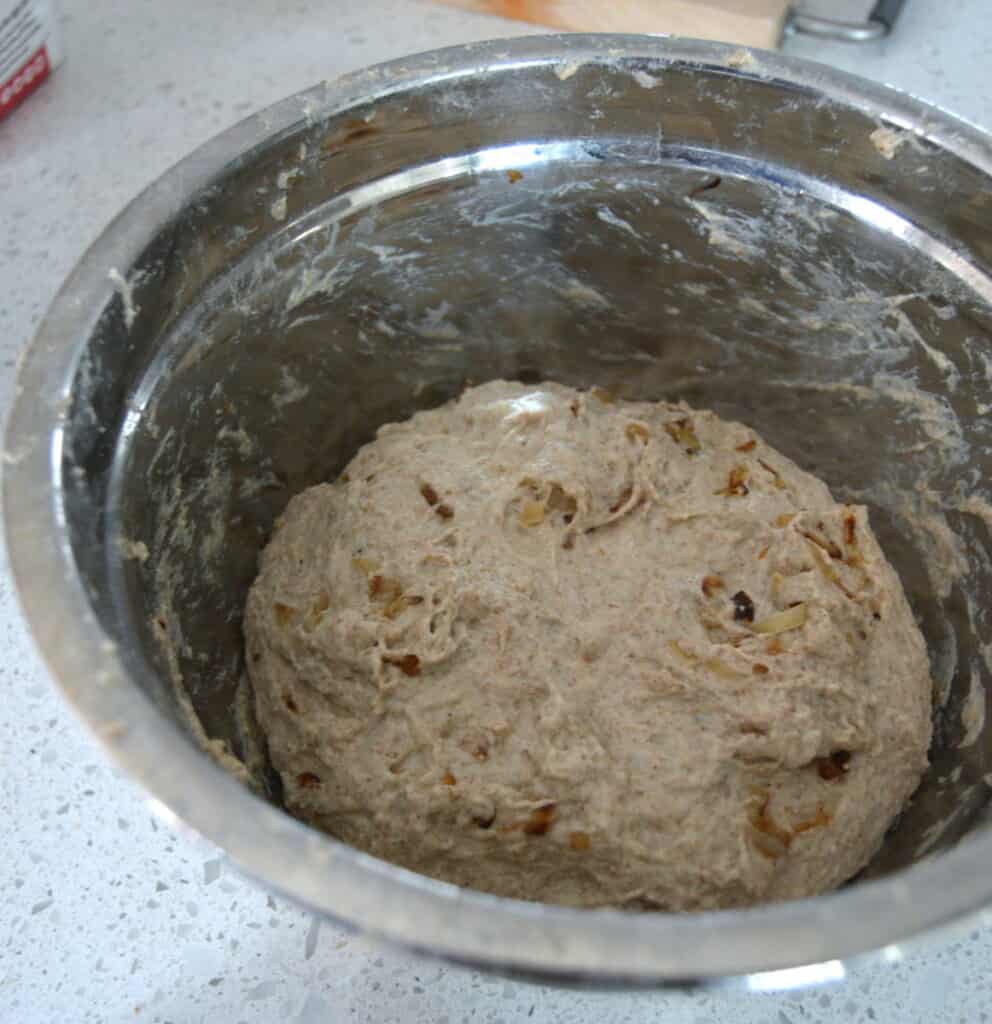
- Add the onions and fold over a couple more times.
- Cover the bowl and let the dough rise.
- The dough needs to be "folded" 3 or 4 times in the first 2 hours. Here is a video that helps you understand this process.
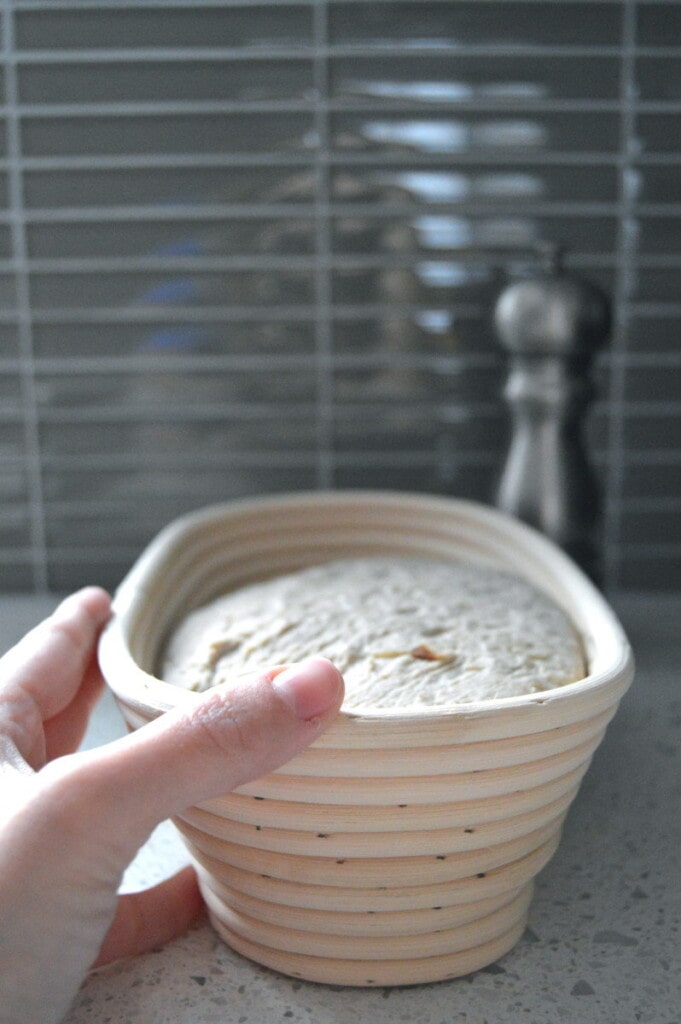
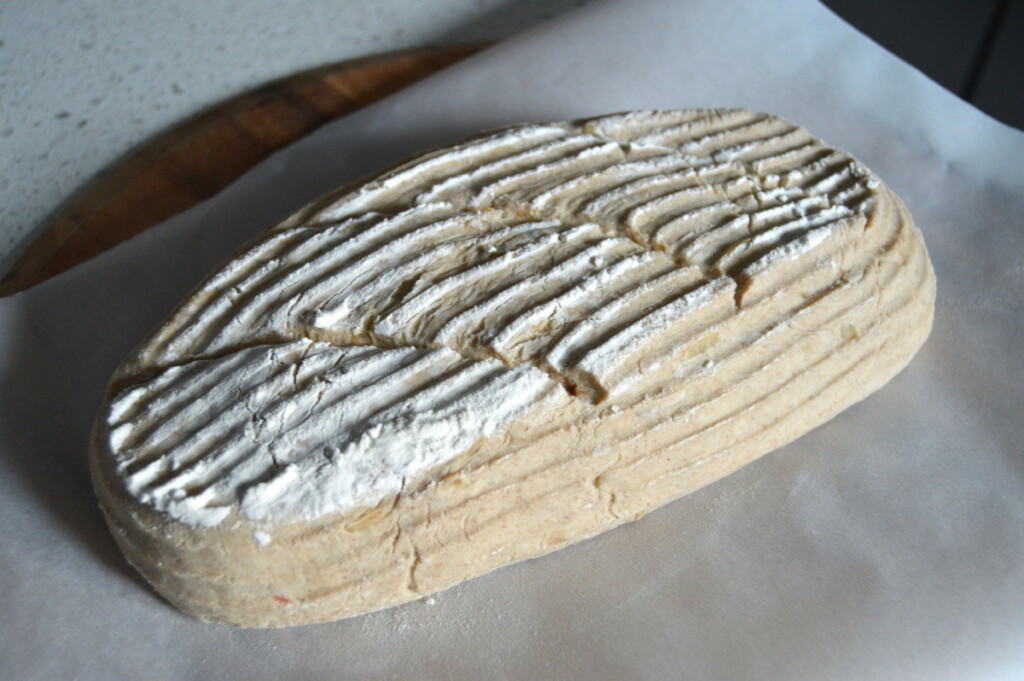
- Dust a proofing basket with flour (I bought a batard shaped basket, which will make an oval shaped loaf, but feel free to use whichever shape you prefer. I bought mine for a few dollars on Amazon)
- Shape the dough (Watch this video to help you!), placing the seam down into the proofing basket.
- Cover the dough and basket completely with plastic foil and refrigerate overnight (between 12 to 14 hours). This is called proofing, or the final rising stage.
- Preheat the oven to 475 degrees at least 1 hour before baking. Place baking stone on a rack in the middle and a baking pan filled with lava rocks on a rack on the bottom. Add the pan with the rolled up, soaked dishtowels 20 minutes before baking.
- When ready to bake, take the loaf out of the fridge and flip over the basket to release the dough onto a pizza peel covered with parchment paper.
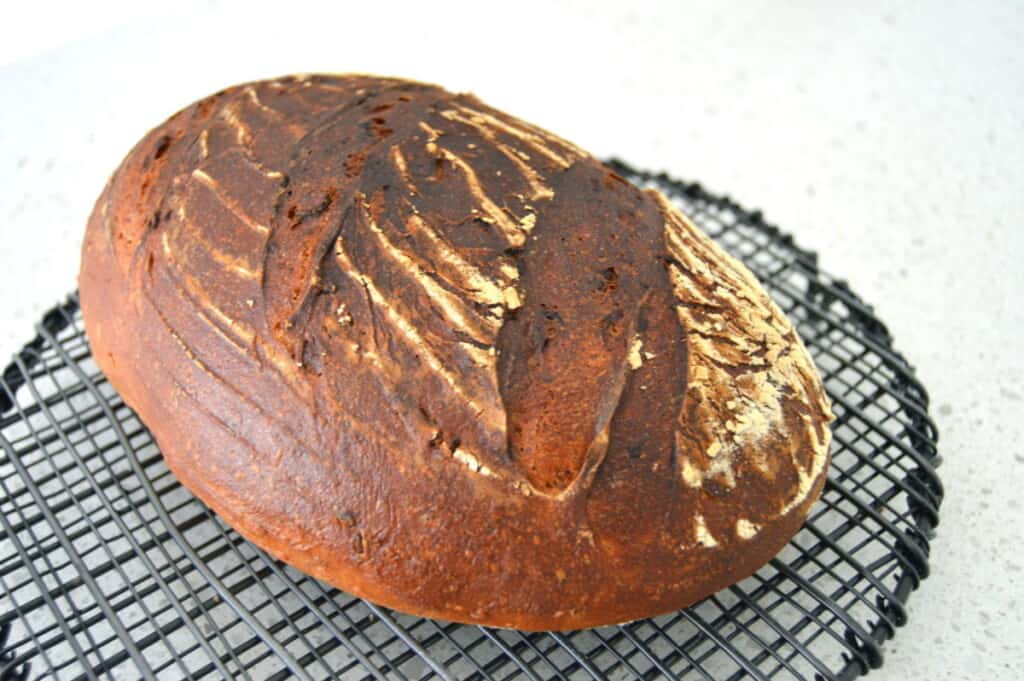
- Make a few cuts on the top of the loaf if desired (I made 3 diagonally across, this is called scoring). This will allow the dough to rise and expand in those areas.
- When ready to bake, pour one cup of water over the lava rocks (make sure they are in a metal dish, not glass!), move the dough from the peel onto the baking stone (including the parchment paper), and spray the oven with water about 5 times.
- Spray again 4 times in the first 20 minutes (every 5 minutes), then finish baking for another 20 minutes.
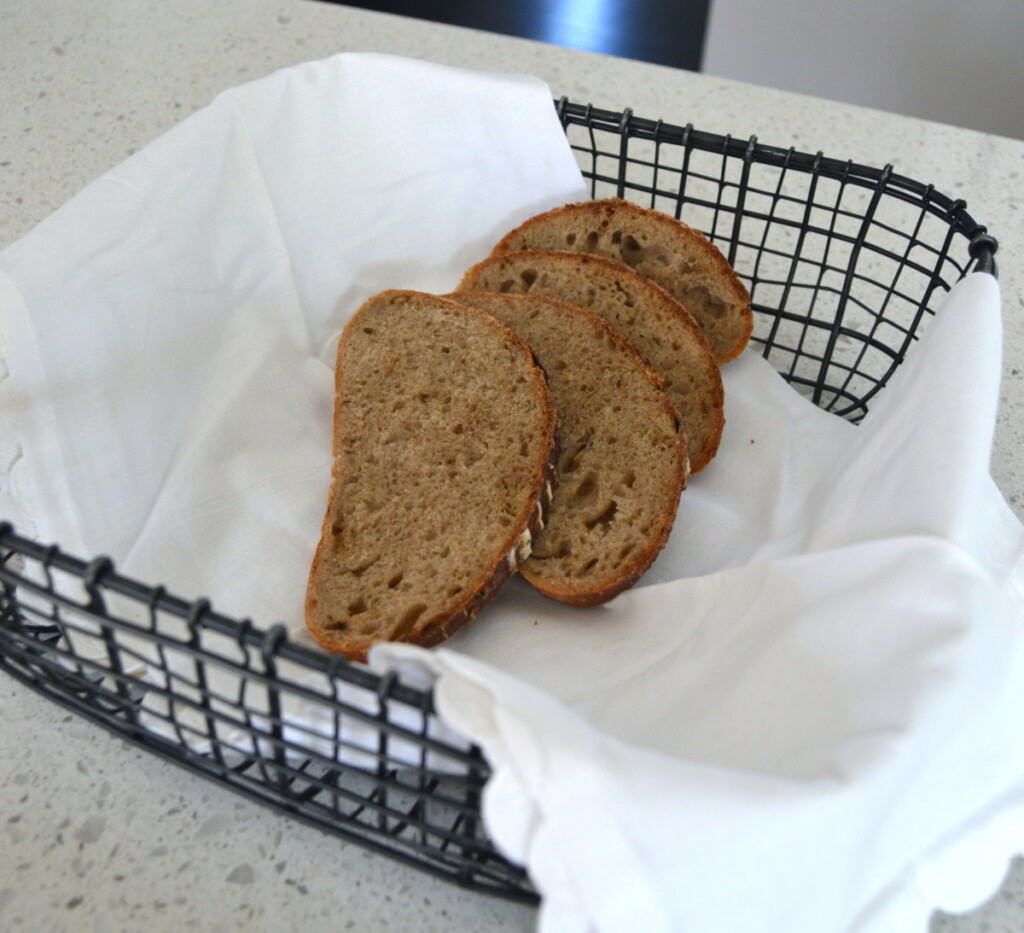
- Remove the loaf and transfer to a cooling rack. Let rest for at least 20 minutes before slicing.
- Guten Appetit!

